GM world frontend tutorial
In this tutorial, we'll learn how to use Cosmology to create a frontend for our GM world rollup.
Cosmology enables developers to build web3 apps in the Interchain Ecosystem. With Cosmology, it's simple to begin building apps that communicate with Cosmos SDK and CosmWasm chains.
We'll be using create-cosmos-app in this tutorial to scaffold a frontend and add the chain information for our rollup.
In the end, you'll have something that looks like this demo (repo).
Getting started
In order to complete this tutorial you will need to have completed the GM world tutorial. This requires a running rollup on your local machine.
Setting up the frontend
Now that you have your rollup running, you are ready to scaffold the frontend! In your terminal, first install create-cosmos-app:
yarn global add create-cosmos-appTIP
✋ If you don't have yarn, run this command to install it using cURL on most Linux distros and macOS:
curl -o- -L https://yarnpkg.com/install.sh | bashNow scaffold an app:
create-cosmos-appIn this tutorial, we're using the following setting and your output will look similar to this if everything is successful:
? [name] Enter your new app name gm-world
Cloning into 'gm-world'...
? [template] which template connect-multi-chain
yarn install v1.22.19
[1/4] Resolving packages...
[2/4] Fetching packages...
[3/4] Linking dependencies...
[4/4] Building fresh packages...
success Saved lockfile.
Done in 42.23s.


                 |              _   _
     ===         |.===.        '\-//`
    (o o)        {}o o{}        (o o)
ooO--(_)--Ooo-ooO--(_)--Ooo-ooO--(_)--Ooo-

✨ Have fun! Now you can start on your project ⚛️

Now, run this command:

cd ./gm-world && yarn dev
Follow the instructions at the end of the output to start your app:
cd ./gm-world && yarn dev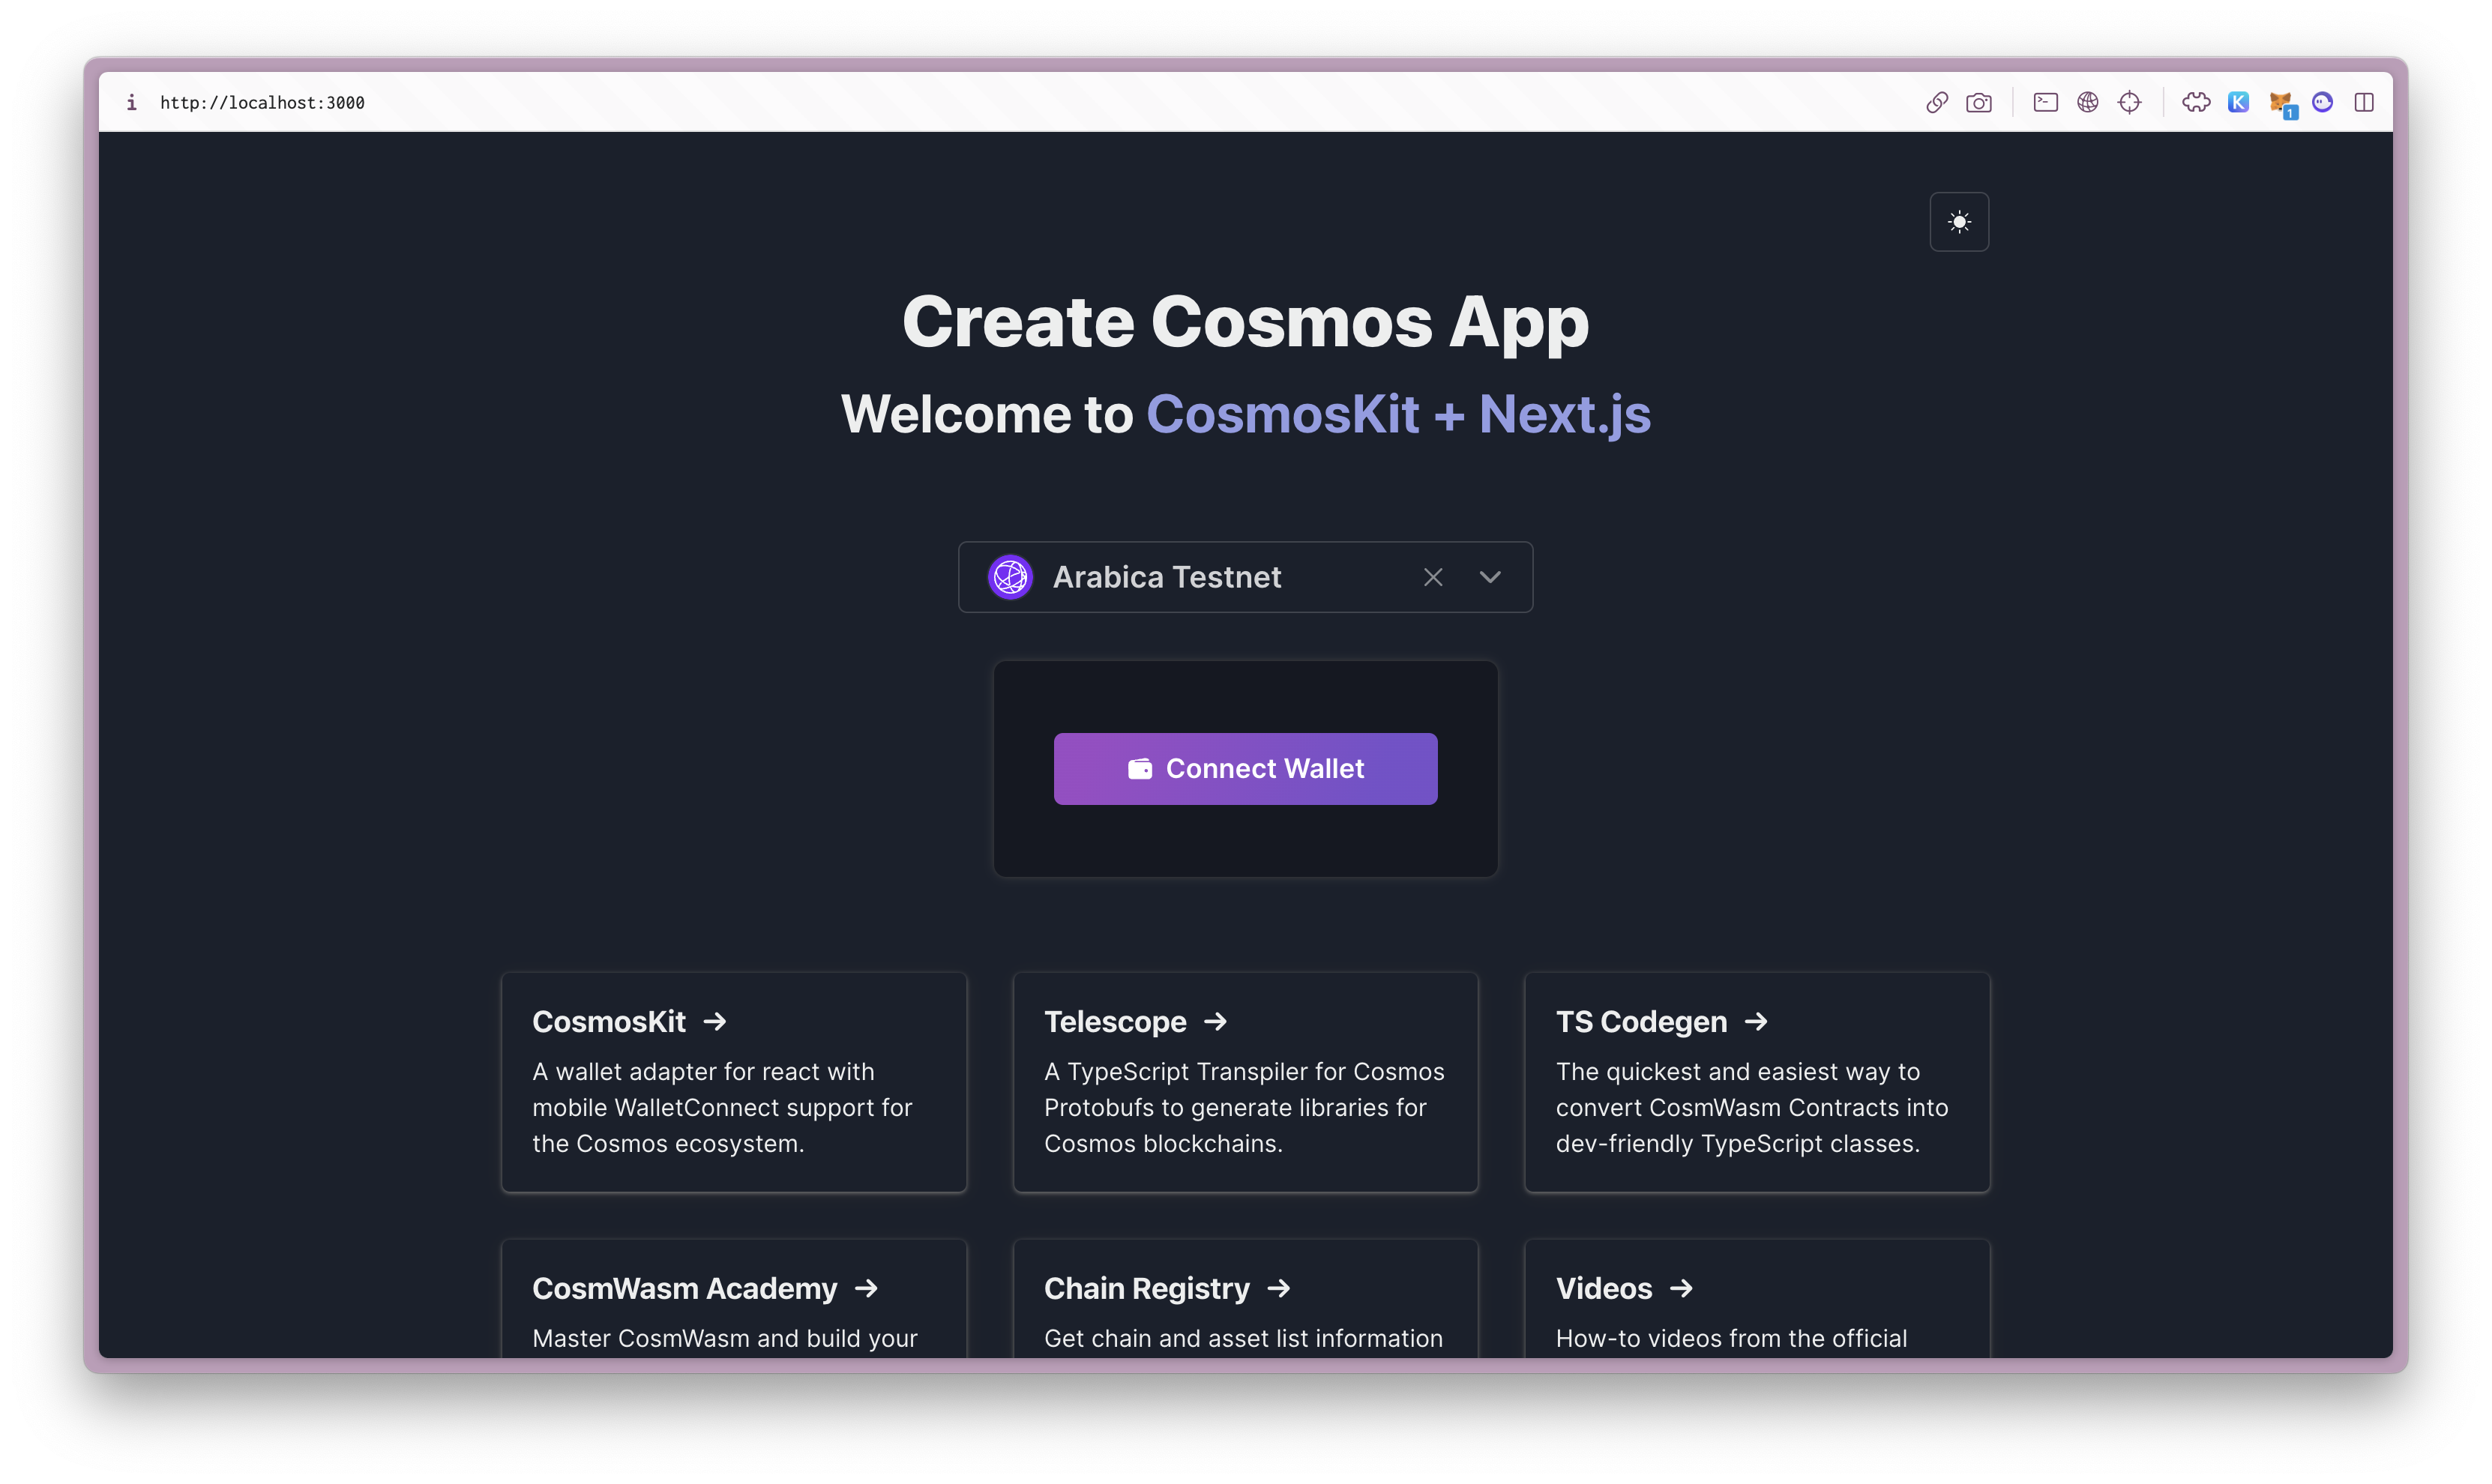
Adding your GM portal chain to the config
First, we'll need to make some changes with the default config.
We need to add the array of chains that we would like to test in the components/wallet.tsx file on underneath imports:
const allowedChains = [
'gmrollup',
'celestiatestnet',
'celestiatestnet2',
'celestiatestnet3',
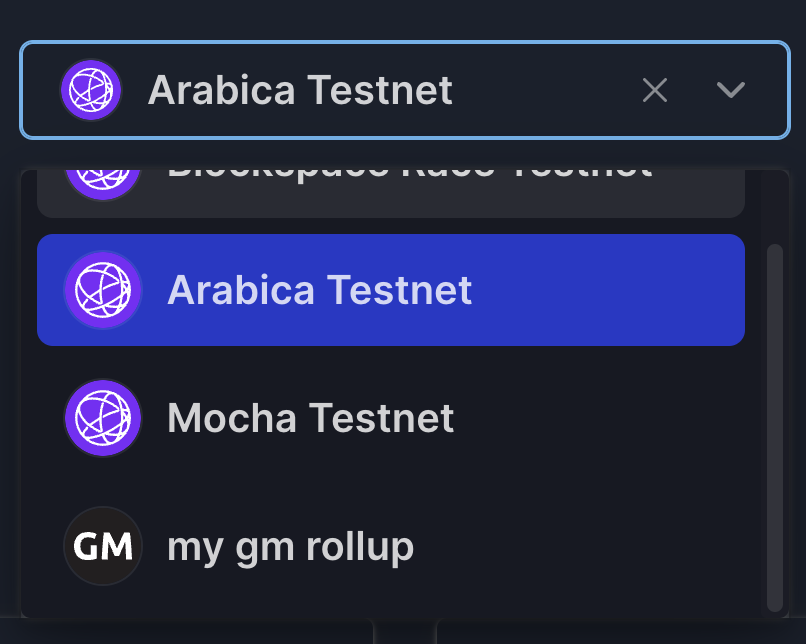
];In chainOptions change chainRecords this to show only the allowed chains from your array:
chainRecords
      .filter((chainRecord) => allowedChains.includes(chainRecord.name))
      .map((chainRecord) => {
Now you're ready to see only the chains you've selected, but first, we need to set up the config for gmrollup!
In the config directory, create a new file called chain.ts. This will be your config for your GM rollup.
In that file, put the following:
export const chain = {
    "$schema": "../../chain.schema.json",
    "chain_name": "gmrollup",
    "chain_id": "gm",
    "pretty_name": "my gm rollup",
    "status": "live",
    "network_type": "testnet",
    "bech32_prefix": "gm",
    "daemon_name": "gmd",
    "node_home": "$HOME/.gm",
    "key_algos": [
      "secp256k1"
    ],
    "slip44": 118,
    "fees": {
      "fee_tokens": [
        {
          "denom": "ustake",
          "fixed_min_gas_price": 0
        }
      ]
    },
    "apis": {
      "rpc": [
        {
          "address": "http://localhost:26657",
          "provider": "JCS"
        }
      ],
      "rest": [
        {
          "address": "http://localhost:1317",
          "provider": "JCS"
        }
      ]
    },
    "beta": true,
  }
Create a new file in config called assetlist.ts and add the following:
export const assetlist = {
    "$schema": "../../assetlist.schema.json",
    "chain_name": "gmrollup",
    "assets": [
      {
        "description": "",
        "denom_units": [
          {
            "denom": "ustake",
            "exponent": 0
          },
          {
            "denom": "stake",
            "exponent": 6
          }
        ],
        "base": "stake",
        "name": "GM rollup",
        "display": "stake",
        "symbol": "STAKE",
        "logo_URIs": {
          "svg": "https://raw.githubusercontent.com/jcstein/gm-portal/b030ce3fe548d188fbacb6b932d7e51dc7afd65e/frontend/public/gm.svg"
        }
      }
    ]
  }
Create a new file in config directory called defaults.ts:
import { assets } from 'chain-registry';
import { AssetList, Asset } from '@chain-registry/types';

export const defaultChainName = 'gmrollup';

export const getChainAssets = (chainName: string = defaultChainName) => {
  return assets.find((chain) => chain.chain_name === chainName) as AssetList;
};

export const getCoin = (chainName: string = defaultChainName) => {
  const chainAssets = getChainAssets(chainName);
  return chainAssets.assets[0] as Asset;
};
In _app.tsx you can now import assetlist and chain with your new GM config!
# other imports
import { chain } from "../config/chain"
import { assetlist } from "../config/assetlist"

# rest of code
Then, modify your ChainProvider:
<ChainProvider
        chains={[...chains, chain]}
        assetLists={[...assets, assetlist]}
        wallets={[...keplrWallets, ...cosmostationWallets, ...leapWallets]}
        walletConnectOptions={{
          signClient: {
            projectId: 'a8510432ebb71e6948cfd6cde54b70f7',
            relayUrl: 'wss://relay.walletconnect.org',
            metadata: {
              name: 'Celestia + Cosmos SDK',
              description: 'Celestia + Cosmos SDK',
              url: 'https://docs.celestia.org/',
              icons: [],
            },
          },
        }}
        endpointOptions={{
          isLazy: true
        }}
        wrappedWithChakra={true}
        signerOptions={signerOptions}
      >
You may notice that we added:
endpointOptions={{isLazy: true}}This will save our localhost RPC from being overridden.
Congratulations! You now have a frontend for your rollup. What features do you want to add now?
You may notice that the icons for Celestia testnets are not loading, this is due to an outdated version of the chain registry.
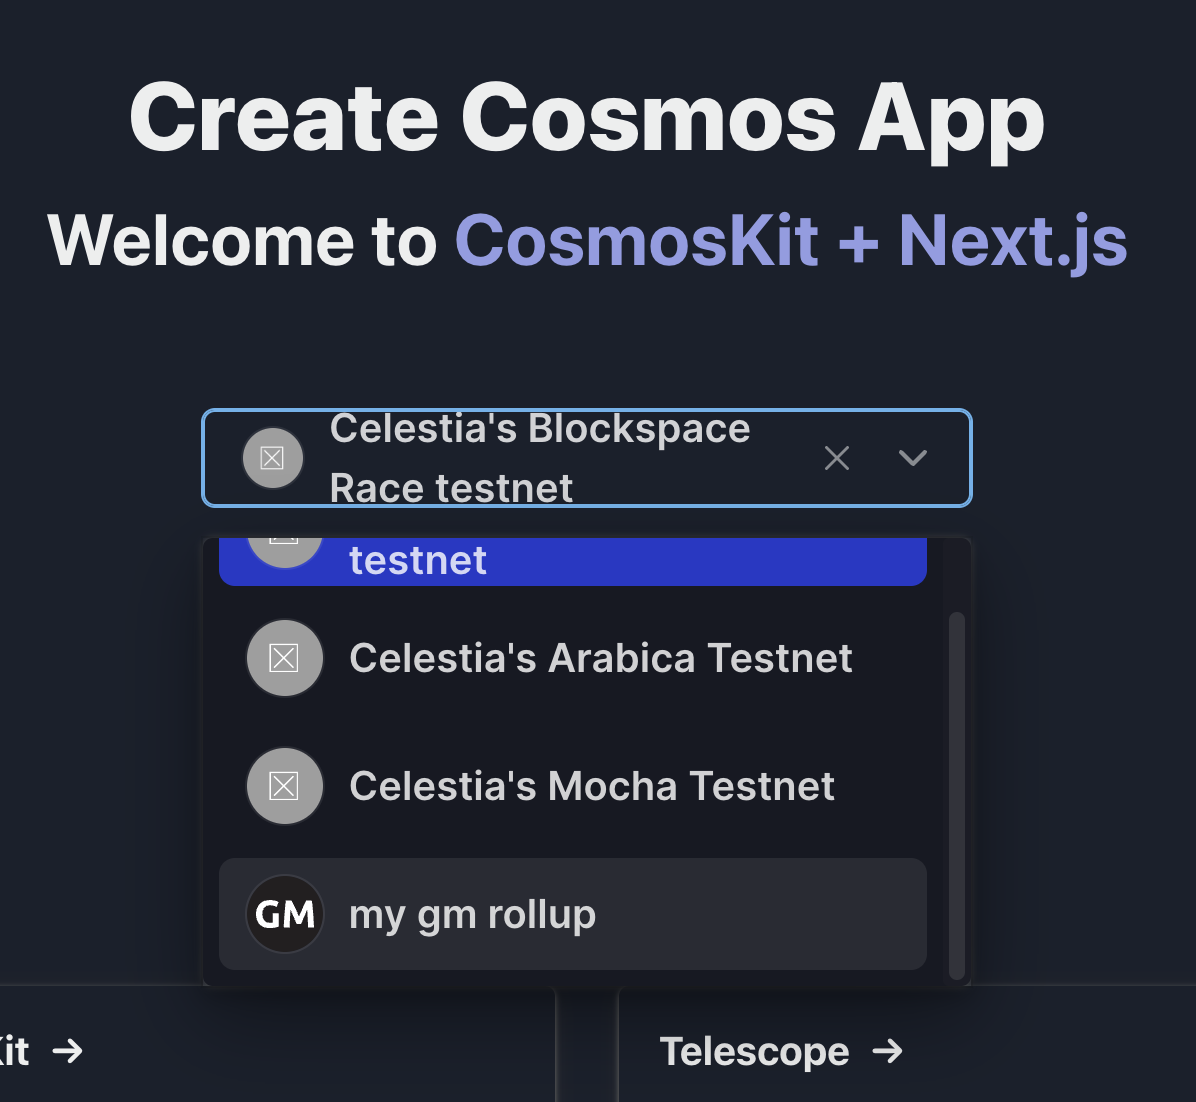
To update these, you can use your terminal:
cd $HOME && cd gm-world
yarn upgrade-interactive --latest
Use arrow keys and the spacebar to select it@cosmos-kit/core, @cosmos-kit/cosmostation, @cosmos-kit/keplr, @cosmos-kit/leap and @cosmos-kit/react.
Now use enter to upgrade the dependencies!
Head back to your frontend and take a look, you should see the updated icons.