Polaris EVM and Rollkit
DANGER
We regret to inform that Polaris V1 and Rollkit integration is not fully functional. Current issues are tracked in https://github.com/rollkit/rollkit/issues/1594. We are expecting Polaris V2 release soon and Rollkit support will be added along with update tutorial.
This tutorial provides step-by-step instructions for running the Polaris EVM using Rollkit. Polaris EVM is a version of the Ethereum Virtual Machine (EVM) that is designed to run the Berachain network. This version has been modified to use Celestia as a data availability layer. This integration uses a local-celestia-devnet. Rollkit is used to deploy a Polaris EVM rollup without needing to set up a data availability and consensus network.
TIP
This tutorial explores Rollkit, currently in Alpha. If you encounter bugs, please report them via a GitHub issue ticket or reach out in our Telegram group.
Prerequisites
Before you can run Polaris EVM using Rollkit, you need to have the following software installed on your machine:
- Docker running on your machine
- Go version >= 1.21.0
Run a local-celestia-devnet
Before you can start Polaris EVM, you need to start a local-celestia-devnet instance in a separate terminal:
docker run -t -i --platform linux/amd64 -p 26650:26650 -p 26657:26657 -p 26658:26658 -p 26659:26659 -p 9090:9090 ghcr.io/rollkit/local-celestia-devnet:v0.12.6Clone the repo
To get started, clone the Polaris repository and switch to the Rollkit branch:
cd $HOME
git clone https://github.com/berachain/polaris.git
cd polaris && git checkout rollkit
Install Foundry
curl -L https://foundry.paradigm.xyz | bashStart the Polaris EVM using Rollkit
Then start the chain in your first terminal:
cd $HOME/polaris && foundryup
make start
Congratulations
You now have a Polaris EVM Rollkit rollup running! The rollup logs will begin to look similar to this:
7:58PM INF submitting block to DA layer height=11 module=BlockManager // [!code focus]
7:58PM INF successfully submitted Rollkit block to DA layer daHeight=30 module=BlockManager rollkitHeight=11 // [!code focus]
7:58PM INF prune start height=11 module=server
7:58PM INF prune end height=11 module=server
7:58PM INF indexed block events height=11 module=txindex
7:58PM INF Creating and publishing block height=12 module=BlockManager // [!code focus]
7:58PM INF preparing evm block module=polaris-geth seal_hash=0x314b131b1d4117445091b25240eaf420cdbdcf9f653eabd1d95aa0dab3cd1359
7:58PM INF finalizing evm block block_hash=0x5207a1ff35540dafe70565d3a95ed07f6c9b1ed9114f93c6c47ee0a1c0d4cc2e module=polaris-geth num_txs=0
7:58PM INF finalized block block_app_hash=AC959F089C21DC617275E0AB35E77DC3839C9597ECFDECDAD6C924EC49B1EB07 height=12 module=BlockManager num_txs_res=0 num_val_updates=0
7:58PM INF executed block app_hash="���\b�!�aru��5�}���������$�I��\a" height=12 module=BlockManager
Funds
The following private key has funds on your Polaris chain:
Address: 0x20f33CE90A13a4b5E7697E3544c3083B8F8A51D4
PrivateKey: 0xfffdbb37105441e14b0ee6330d855d8504ff39e705c3afa8f859ac9865f99306
Just deploy a smart contract to get started! If you'd like to learn how to deploy your own GM Portal (as an ooga booga portal) you can follow the remainder of this tutorial.
Frontend
Now we will make a frontend with a smart contract on our Polaris EVM rollup. First, clone the GM Portal repository and check out to the Polaris branch (ooga booga portal):
cd $HOME
git clone https://github.com/jcstein/gm-portal.git
cd gm-portal && git checkout polaris
Deploy the ooga booga portal contract
Next, you will deploy the smart contract. Export the funded private key and RPC URL:
export PRIVATE_KEY=0xfffdbb37105441e14b0ee6330d855d8504ff39e705c3afa8f859ac9865f99306
export RPC_URL=http://localhost:8545
Use Foundry to deploy the contract to your EVM:
cd contracts
forge script script/GmPortal.s.sol:GmPortalScript --rpc-url $RPC_URL --private-key $PRIVATE_KEY --broadcast
A successful deployment's output will look similar to:
forge script script/GmPortal.s.sol:GmPortalScript --rpc-url $RPC_URL --private-key $PRIVATE_KEY --broadcast
[⠒] Compiling...
[⠑] Compiling 18 files with 0.8.20
[⠘] Solc 0.8.20 finished in 1.52s
Compiler run successful!
Script ran successfully.

== Logs ==
  i am a smart contract on Polaris EVM x Rollkit. gm!

[...]

##
Waiting for receipts.
⠉ [00:00:00] [######################] 1/1 receipts (0.0s)
##### 2061
✅  [Success]Hash: 0xa174e9389633972458e6dce431d84736e0709e9406c1c3b14b5fa9ae0cdd6860
Contract Address: 0x18Df82C7E422A42D47345Ed86B0E935E9718eBda // [!code focus]
Block: 682
Paid: 0.001528707003566983 ETH (509569 gas * 3.000000007 gwei)

[...]
From the contract deployment output, export your contract address:
export CONTRACT_ADDRESS=0x18Df82C7E422A42D47345Ed86B0E935E9718eBdaInteract with the contract
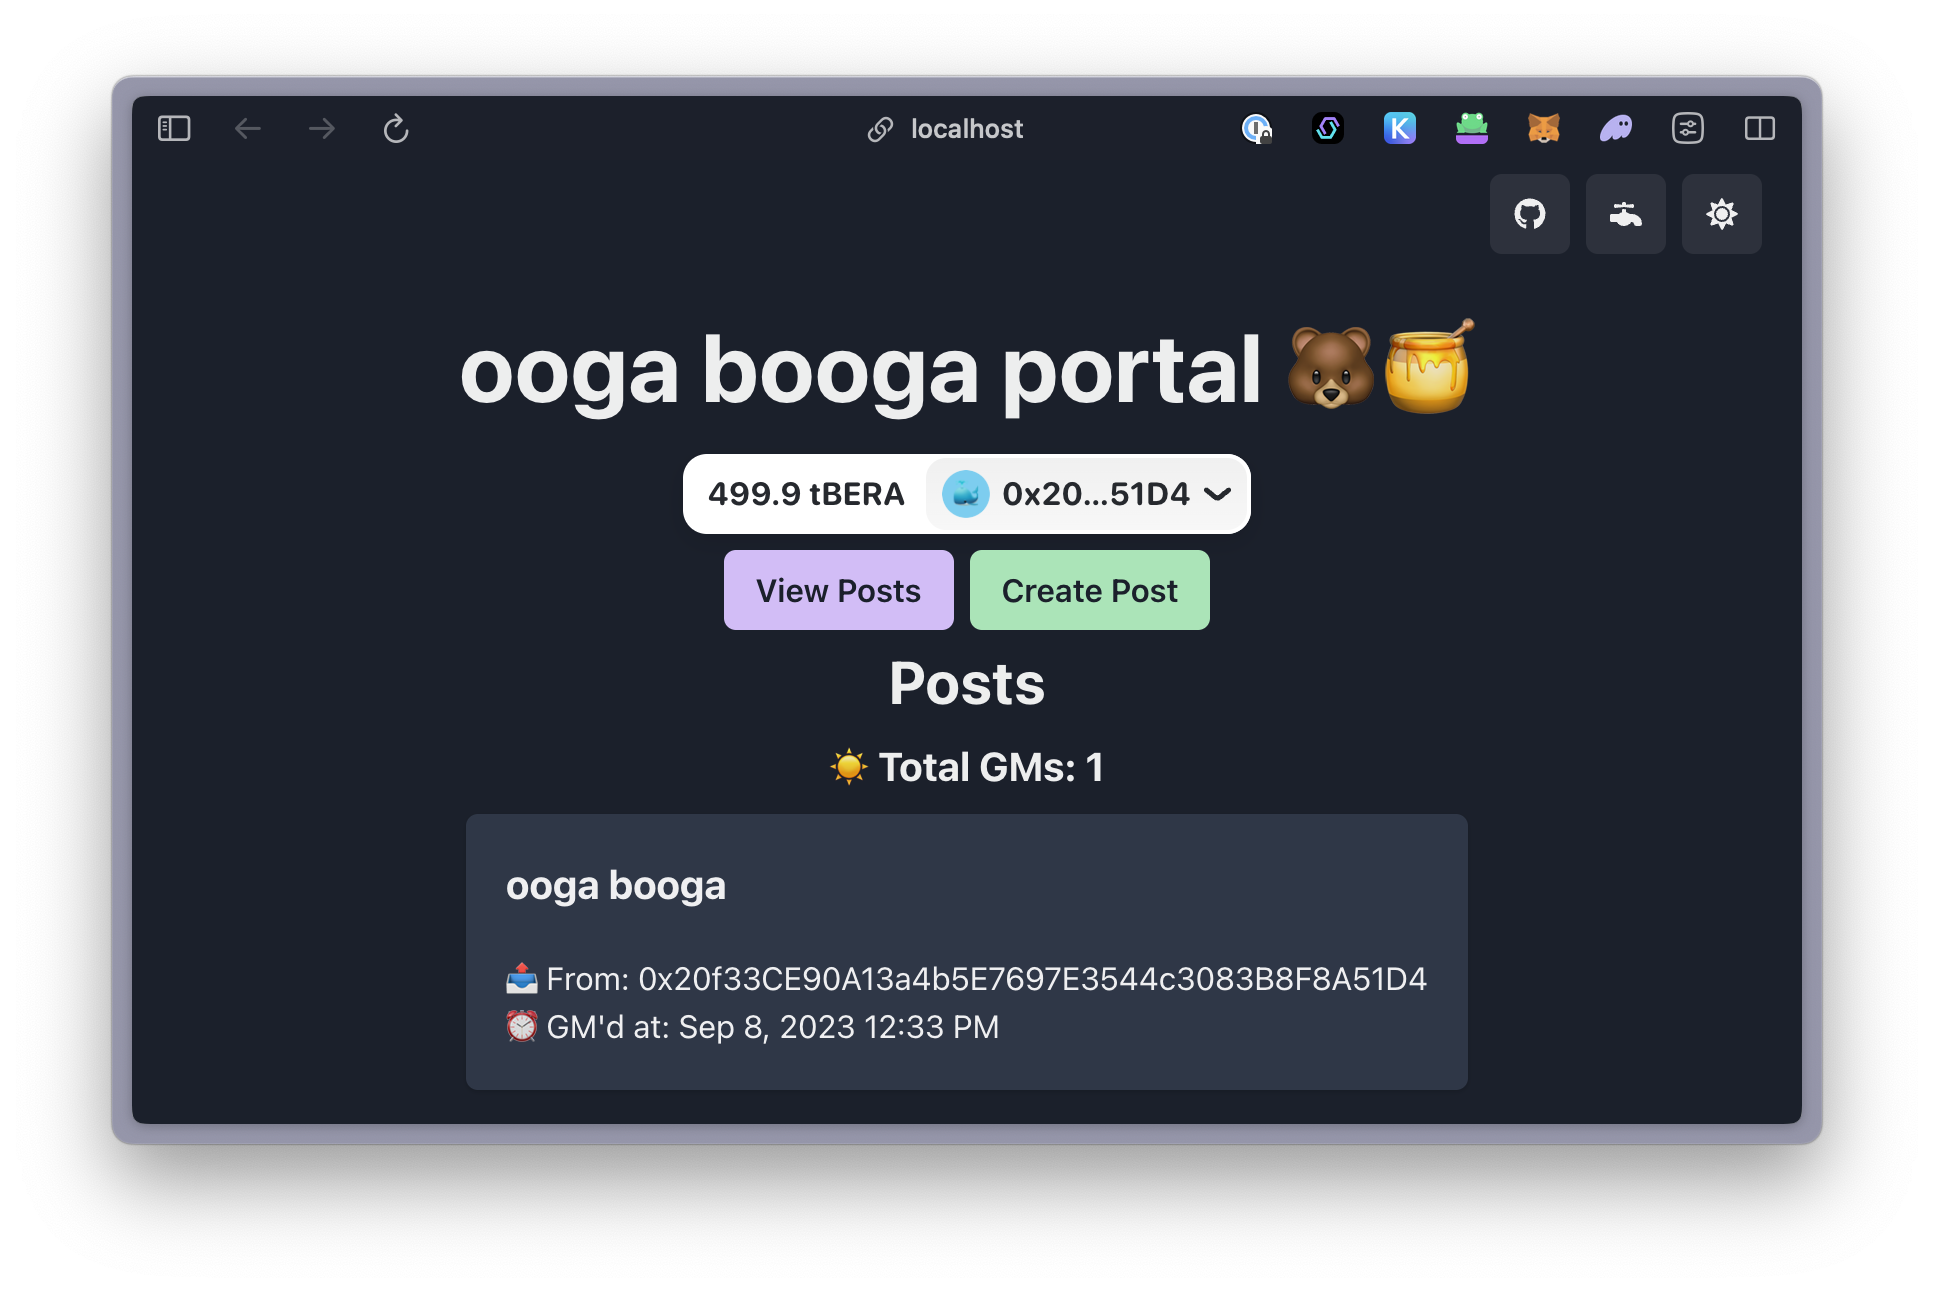
Send an "ooga booga" to the contract:
cast send $CONTRACT_ADDRESS \
"gm(string)" "ooga booga" \
--private-key $PRIVATE_KEY \
--rpc-url $RPC_URL
Get total (hex-encoded) GMs (ooga boogas):
cast call $CONTRACT_ADDRESS "getTotalGms()" --rpc-url $RPC_URLStart and update the frontend
Now, change into the frontend directory:
cd $HOME/gm-portal/frontend
yarn && yarn dev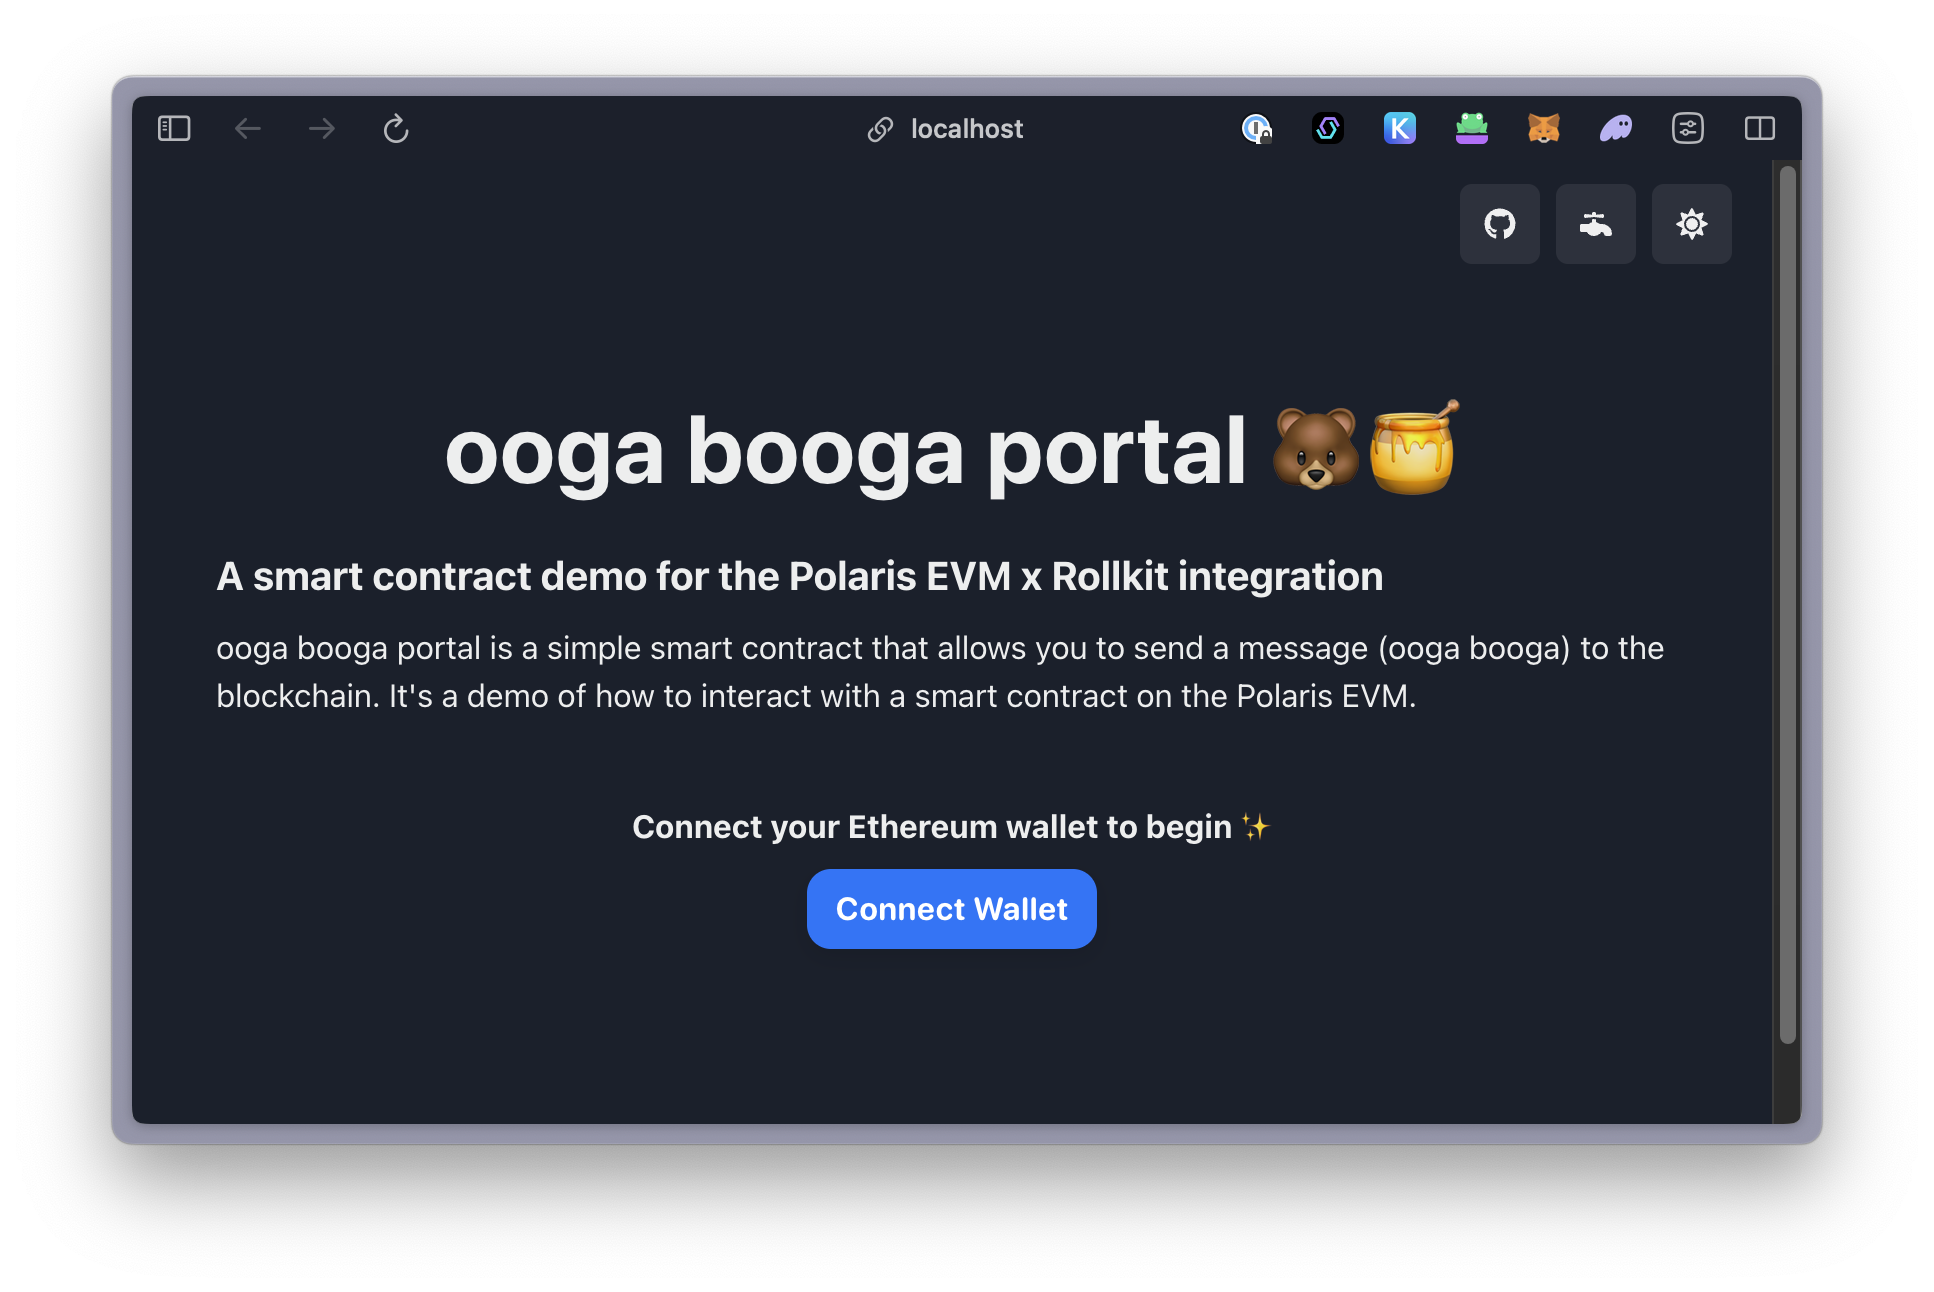
Now, your frontend is running! We'll display and interact with our smart contract on our frontend.
First, you will need to change the contract address on gm-portal/frontend/src/App.tsx to your contract address from above before you can interact with the contract on the frontend:
TIP
Only if you changed the contract, you will need to update the ABI in gm-portal/frontend/GmPortal.json from gm-portal/contracts/out/GmPortal.sol/GmPortal.json. This can be done with:
cd $HOME
cp gm-portal/contracts/out/GmPortal.sol/GmPortal.json gm-portal/frontend
Interact with the frontend
In order to interact with the contract on the frontend, you'll need to fund an account that you have in your Ethereum wallet or add the private key from above into your wallet.
To transfer to an external account, use this command:
export RECEIVER=<receiver ETH address>
cast send --private-key $PRIVATE_KEY $RECEIVER --value 1ether --rpc-url $RPC_URL
If you are in a different terminal than the one you set the private key in originally, you may need to set it again.
Now, login with your wallet that you funded, and post a ooga booga on your ooga booga portal!
Running Polaris EVM with a Celestia light node
In this portion of the tutorial, we will go over running Polaris x Rollkit using a Celestia light node to post data to Mocha testnet. These steps can be used for Mainnet Beta and Arabica devnet, too, you'll just need to change the network in the --p2p.network string flag and your RPC.
TIP
Before using RPC methods through the CLI, you'll need to set your auth token.
In order to successfully post and retrieve data to and from Celestia's Mocha testnet, your light node will need to be fully synced. You can check the status by using the das.SamplingStats method using the CLI.
Your node will also need to be funded with testnet TIA, which you can obtain by retrieving your account address and visiting a faucet.
Start your light node
Fully sync and fund a light node on Celestia's Mocha testnet (
mocha-4). Follow instructions to install and start your Celestia data availability layer light node selecting the Mocha network. You can find instructions to install and run the node. After the node is synced, stop the light node.Use
celestia-dato connect to Rollkit. Your node does not need to be running when you startcelestia-da. To startcelestia-daand your light node, run this command:
TIP
You can either use the default 000000506f6c61726973 namespace below, or set your own by using a command similar to this to generate one (or, you could get creative 😎):
openssl rand -hex 10docker run -d \
-e NODE_TYPE=light \
-e P2P_NETWORK=mocha \
-p 26650:26650 \
-p 26658:26658 \
-p 26659:26659 \
-v $HOME/.celestia-light-mocha-4/:/home/celestia/.celestia-light-mocha-4/ \
ghcr.io/rollkit/celestia-da:v0.12.10 \
celestia-da light start \
--p2p.network=mocha \
--da.grpc.namespace=000000506f6c61726973 \
--da.grpc.listen=0.0.0.0:26650 \
--core.ip rpc-mocha.pops.one \
--gatewaySetup Polaris script
First, ensure you're on the correct branch of Polaris:
cd $HOME/polaris && git checkout rollkitBefore starting your rollup, you'll want to make a change in $HOME/polaris/e2e/testapp/entrypoint.sh to point to the right DA start height:
# set the data availability layer's block height from local-celestia-devnet
DA_BLOCK_HEIGHT=$(docker exec $(docker ps -q) celestia header local-head --token $AUTH_TOKEN | jq '.result.header.height' -r) // [!code --]
DA_BLOCK_HEIGHT=$(curl https://rpc-mocha.pops.one/block |jq -r '.result.block.header.height') // [!code ++]
Start the EVM rollup
Change into the Polaris directory in your terminal:
cd $HOME/polaris
make start
Congratulations! Your light node is now posting your rollup's data to Celestia's Mocha testnet.
Find an explorer to view the default namespace in the tutorial or search for your own namespace on Celenium.