GM world rollup: Part 2
Deploying to a Celestia testnet
This tutorial is part 2 of the GM world rollup tutorials. In this tutorial, it is expected that you've completed part 1 of the tutorial and are familiar with running a local rollup devnet.
The script for this tutorial is built for Celestia's Mocha testnet.
TIP
This tutorial explores Rollkit, currently in Alpha. If you encounter bugs, please report them via a GitHub issue ticket or reach out in our Telegram group.
🪶 Run a Celestia light node
Fully sync and fund a light node on Mocha testnet (mocha-4). Follow instructions to install and start your Celestia data availability layer light node selecting the Mocha network. You can find instructions to install and run the node. After the node is synced, stop the light node.
🟢 Start your sovereign rollup
We have a handy init-mocha-testnet.sh found in this repo.
We can copy it over to our directory with the following commands:
# From inside the `gm` directory
wget https://rollkit.dev/gm/init-mocha-testnet.sh
This copies over our init-mocha-testnet.sh script to initialize our gm rollup.
You can view the contents of the script to see how we initialize the gm rollup.
TIP
init-mocha-testnet.sh script uses a default namespace 00000000000000000000000000000000000000000008e5f679bf7116cb. You can set your own by using a command similar to this (or, you could get creative 😎):
openssl rand -hex 10Replace the last 10 characters in 00000000000000000000000000000000000000000008e5f679bf7116cb with the newly generated 10 characters.
Clear previous chain history
Before starting the rollup, we need to remove the old project folders:
rm -r $HOME/go/bin/gmd && rm -rf $HOME/.gmStart the new chain
Now, you can initialize the script with the following command:
bash init-mocha-testnet.shView your rollup by finding your namespace or account an Mocha devnet explorer.
With that, we have kickstarted our second gmd rollup!
Optional: Restarting your rollup
If you'd like to stop and restart your rollup for development purposes, you're in luck!
When you ran init-mocha-testnet.sh, the script generated a script called restart-testnet.sh in the $HOME/gm directory for you to use to restart your rollup.
In order to do so, restart celestia-da and then run:
bash restart-testnet.shOptional: Add a "GM world" query
💬 Say gm world
Now, we're going to get our blockchain to say gm world! - in order to do so you need to make the following changes:
- Modify a protocol buffer file
- Create a keeper query function that returns data
Protocol buffer files contain proto RPC calls that define Cosmos SDK queries and message handlers, and proto messages that define Cosmos SDK types. The RPC calls are also responsible for exposing an HTTP API.
The Keeper is required for each Cosmos SDK module and is an abstraction for modifying the state of the blockchain. Keeper functions allow us to query or write to the state.
✋ Create your first query
Open a new terminal instance that is not the same that you started the chain in.
In your new terminal, cd into the gm directory and run this command to create the gm query:
ignite scaffold query gm --response textResponse:
modify proto/gm/gm/query.proto
modify x/gm/client/cli/query.go
create x/gm/client/cli/query_gm.go
create x/gm/keeper/query_gm.go

🎉 Created a query `gm`.
What just happened? query accepts the name of the query (gm), an optional list of request parameters (empty in this tutorial), and an optional comma-separated list of response field with a --response flag (text in this tutorial).
Navigate to the gm/proto/gm/gm/query.proto file, you’ll see that Gm RPC has been added to the Query service:
service Query {
  rpc Params(QueryParamsRequest) returns (QueryParamsResponse) {
    option (google.api.http).get = "/gm/gm/params";
  }
 rpc Gm(QueryGmRequest) returns (QueryGmResponse) {
  option (google.api.http).get = "/gm/gm/gm";
 }
}
The Gm RPC for the Query service:
- is responsible for returning a
textstring - Accepts request parameters (
QueryGmRequest) - Returns response of type
QueryGmResponse - The
optiondefines the endpoint that is used by gRPC to generate an HTTP API
📨 Query request and response types
In the same file, we will find:
QueryGmRequestis empty because it does not require parametersQueryGmResponsecontainstextthat is returned from the chain
message QueryGmRequest {
}

message QueryGmResponse {
  string text = 1;
}
👋 Gm keeper function
The gm/x/gm/keeper/query_gm.go file contains the Gm keeper function that handles the query and returns data.
func (k Keeper) Gm(goCtx context.Context, req *types.QueryGmRequest) (*types.QueryGmResponse, error) {
	if req == nil {
		return nil, status.Error(codes.InvalidArgument, "invalid request")
	}
	ctx := sdk.UnwrapSDKContext(goCtx)
	_ = ctx
	return &types.QueryGmResponse{}, nil
}
The Gm function performs the following actions:
- Makes a basic check on the request and throws an error if it’s
nil - Stores context in a
ctxvariable that contains information about the environment of the request - Returns a response of type
QueryGmResponse
Currently, the response is empty and you'll need to update the keeper function.
Our query.proto file defines that the response accepts text. Use your text editor to modify the keeper function in gm/x/gm/keeper/query_gm.go .
func (k Keeper) Gm(goCtx context.Context, req *types.QueryGmRequest) (*types.QueryGmResponse, error) {
	if req == nil {
		return nil, status.Error(codes.InvalidArgument, "invalid request")
	}
	ctx := sdk.UnwrapSDKContext(goCtx)
	_ = ctx
	return &types.QueryGmResponse{Text: "gm world!"}, nil
}
The query command has also scaffolded x/gm/client/cli/query_gm.go that implements a CLI equivalent of the gm query and mounted this command in x/gm/client/cli/query.go.
Restart your rollup
Restart your rollup by running the init-mocha-testnet.sh script again.
Query your rollup
In a separate window, run the following command:
gmd q gm gmWe will get the following JSON response:
text: gm world!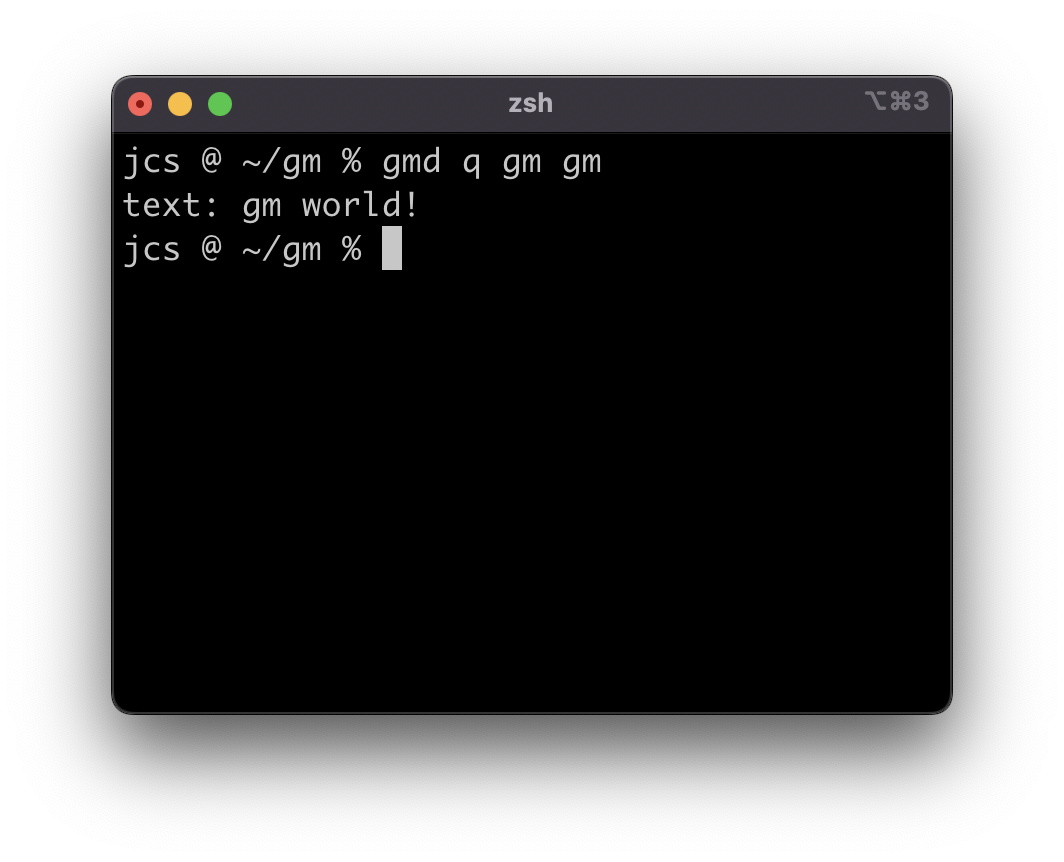
Next steps
Congratulations 🎉 you've successfully built your first rollup and queried it!
In the next tutorial, you'll learn how to post data to Celestia's Mainnet Beta.
If you're interested in setting up a full node alongside your sequencer, see the Full and sequencer node rollup setup tutorial.